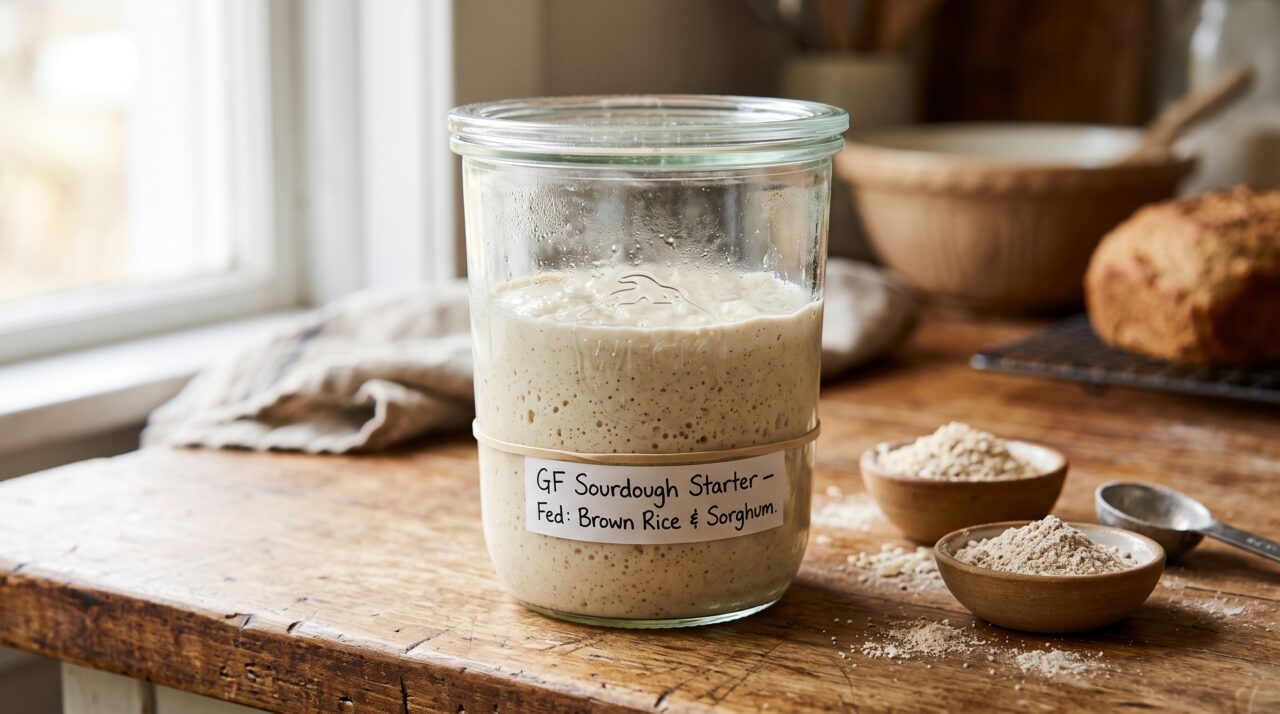

Learning how to make gluten free sourdough starter opens the door to naturally leavened bread without wheat, rye, or barley. It takes patience, the right flour, and a bit of daily attention, but the payoff is a living culture that gives your baking real depth of flavor. This guide walks through every stage, from your first mix to a fully mature, bubbly starter ready for baking.
What Is a Gluten Free Sourdough Starter?
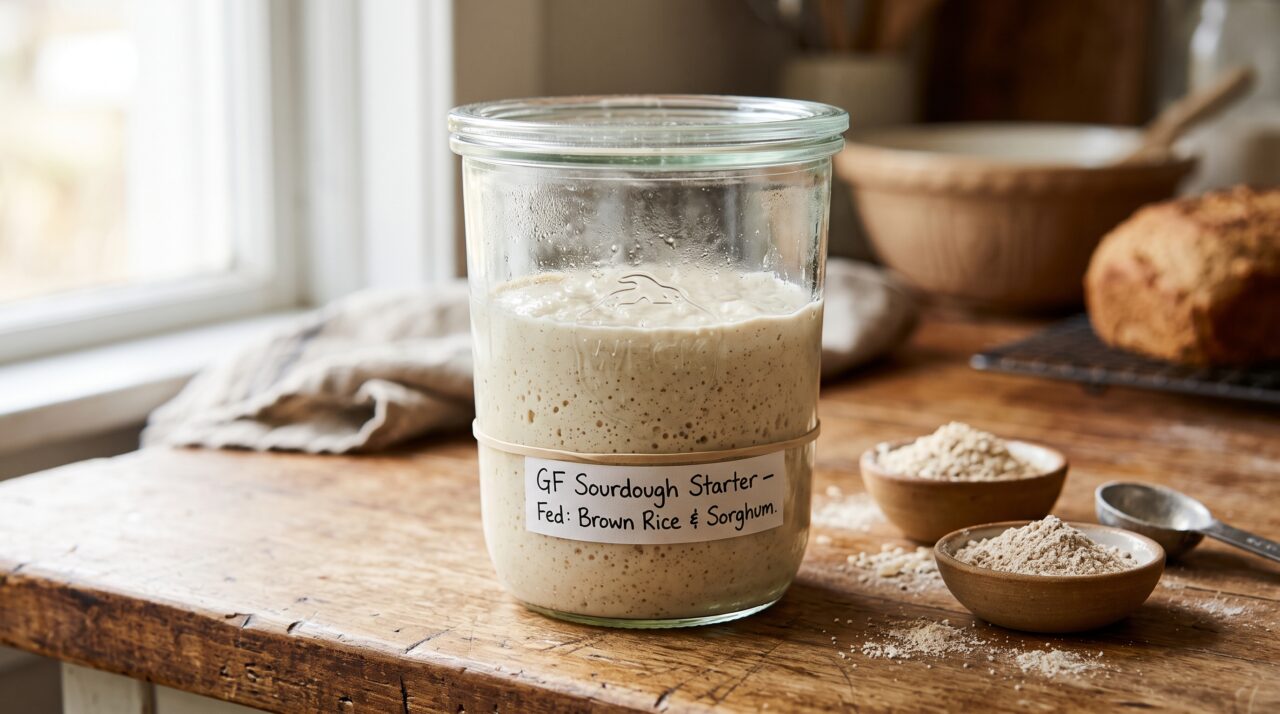
A gluten free sourdough starter is a fermented mixture of gluten free flour and water that captures wild yeast and beneficial bacteria from the environment. Over several days, these microorganisms multiply and produce carbon dioxide, which gives bread its rise and tangy flavor without relying on commercial yeast. Unlike traditional wheat-based starters, a gluten free version lacks gluten’s elastic structure, so the fermentation process and final texture behave a little differently.
Understanding this distinction is the first step in knowing how to make gluten free sourdough starter successfully. The absence of gluten means fermentation can be faster in some flours and slower in others, depending on starch content and protein levels. Once you understand these mechanics, the rest of the process becomes far more predictable.
Why Make Your Own Gluten Free Sourdough Starter
Store-bought gluten free bread often relies on commercial yeast and stabilizers, which can leave flavor and texture flat. A homemade starter introduces natural fermentation, improving digestibility and creating a more complex, slightly sour taste that many bakers find far superior. It also gives you full control over ingredients, which matters if you’re managing celiac disease or a severe gluten sensitivity.
There’s also a practical, ongoing benefit. Once established, a starter becomes a renewable kitchen resource that costs almost nothing to maintain. Many home bakers describe the process of learning how to make gluten free sourdough starter as the single change that finally made gluten free bread taste worth eating again.
Choosing the Best Flour for a Gluten Free Sourdough Starter
Flour choice is the single most important variable in gluten free starter success. Brown rice flour is a popular starting point because it ferments reliably and has a neutral flavor, while sorghum flour offers excellent activity and a slightly sweet, earthy taste. Buckwheat flour, despite its name, is naturally gluten free and known for producing an especially vigorous, fast-rising culture.
Blended flours, particularly those combining rice flour with a small percentage of teff or millet, can also work well because they offer a broader range of nutrients for the microbial culture to feed on. Whichever flour you choose, consistency matters more than perfection; switching flours mid-process can confuse your starter’s developing microbial balance. Sticking with one primary flour for the first two weeks makes the whole process of learning how to make gluten free sourdough starter far more manageable.
What You’ll Need Before You Begin
Before starting, gather a few simple tools: a clean glass or ceramic jar, a wooden or plastic spoon, filtered or dechlorinated water, and your chosen gluten free flour. Avoid metal utensils and containers, as some bakers believe prolonged metal contact can interfere with fermentation, and always use non-chlorinated water since chlorine can suppress the wild yeast you’re trying to cultivate.
A loose-fitting lid or breathable cloth cover is essential too, allowing airflow while keeping contaminants out. Having these basics ready before day one removes friction from the early stages, when consistency and timing matter most for building a healthy culture.
Step-by-Step: How to Make Gluten Free Sourdough Starter
To begin, combine equal parts gluten free flour and water by weight, roughly 50 grams of each, in your clean jar and stir until smooth. Cover loosely and leave it at room temperature, ideally between 70 and 75 degrees Fahrenheit, for 24 hours before checking for any signs of bubbling or a mildly sour aroma.
Each day afterward, discard roughly half the mixture and feed it with fresh equal parts flour and water, stirring thoroughly each time. This daily rhythm is the core of how to make gluten free sourdough starter reach full maturity, and most cultures become reliably active and ready for baking somewhere between day seven and day fourteen.
Daily Feeding Schedule Explained
Feeding on a consistent schedule trains the microbial culture to expect nourishment at predictable intervals, which strengthens fermentation over time. Most bakers feed once every 24 hours during the initial two weeks, then transition to feeding every 12 hours once the starter shows strong, predictable rises and falls.
Temperature plays a major role in how quickly your starter responds to feeding. Warmer kitchens accelerate fermentation and may require feeding every 8 to 12 hours, while cooler environments slow things down and can stretch feedings out to once a day without harming the culture.
How to Tell If Your Starter Is Ready
A mature starter should roughly double in size within four to eight hours of feeding, then gradually fall back down as the yeast consumes available food. You’ll also notice a pleasant, tangy aroma, similar to yogurt or mild vinegar, along with visible bubbles throughout the mixture rather than just on the surface.
The float test is a simple way to confirm readiness: drop a small spoonful of starter into a glass of water, and if it floats, the fermentation gases indicate it’s active enough to leaven bread. If it sinks, give it another feeding cycle or two before attempting your first bake.
Common Mistakes When Making Gluten Free Sourdough Starter
One frequent error is switching flour types too often during the first two weeks, which disrupts the microbial colonies just as they’re establishing themselves. Another common issue is using chlorinated tap water, which can slow or completely stall fermentation because chlorine is designed to kill microorganisms, including the beneficial ones you need.
Overcrowding the jar is another mistake worth avoiding, since gluten free starters can rise dramatically and need extra headroom to prevent overflow. Patience is also frequently underestimated; many people give up on day four or five, right before visible activity typically begins to appear.
Troubleshooting a Sluggish or Inactive Starter
If your starter shows little to no activity after five or six days, first check your kitchen temperature, since anything below 65 degrees Fahrenheit can dramatically slow fermentation. Moving the jar to a warmer spot, such as inside an oven with just the light on, often revives sluggish activity within 24 to 48 hours.
A grayish liquid forming on top, sometimes called hooch, is normal and simply indicates the culture is hungry rather than spoiled. Simply pour it off or stir it back in, then resume your regular feeding schedule to bring the starter back to full strength.
Maintaining Your Starter Long-Term
Once established, a gluten free sourdough starter can be maintained indefinitely with regular feedings, or stored in the refrigerator for less frequent use. Refrigerated starters only need feeding once a week, making them a practical option for bakers who don’t bake daily but still want a ready-to-use culture on hand.
Before baking, simply remove the starter from the fridge, let it come to room temperature, and feed it once or twice to restore full activity. This maintenance routine is what makes the effort of learning how to make gluten free sourdough starter worthwhile long after the initial setup phase.
Baking With Your Gluten Free Sourdough Starter
Once your starter is consistently active, it can replace commercial yeast in most gluten free bread recipes, typically at a ratio of one cup of starter per standard loaf. Because gluten free doughs lack elastic structure, expect a denser crumb than wheat sourdough, though the flavor complexity remains impressively similar.
Many bakers find that blending their starter with a structured flour mix, including xanthan gum or psyllium husk, produces the best rise and texture. Experimenting with hydration levels and proofing times will help you fine-tune results to match your specific flour blend and kitchen conditions.
Flour Comparison for Gluten Free Sourdough Starters
| Flour Type | Fermentation Speed | Flavor Profile | Best For |
|---|---|---|---|
| Brown Rice Flour | Moderate | Neutral, mild | Beginners, all-purpose starters |
| Sorghum Flour | Moderate to Fast | Slightly sweet, earthy | Flavor depth, versatile baking |
| Buckwheat Flour | Fast | Nutty, robust | Rapid activation, hearty breads |
| Teff Flour | Fast | Slightly malty, rich | Nutrient-dense starters |
| Millet Flour | Slow to Moderate | Mild, slightly sweet | Blended flour starters |
As the table shows, no single flour is universally best; the right choice depends on how quickly you want results and the flavor profile you’re aiming for in your finished bread.
What Experts Say About Gluten Free Fermentation
Professional bakers often emphasize that success with alternative flours comes down to observation rather than rigid rules. As one gluten free baking instructor put it, fermentation with non-wheat flours rewards bakers who pay close attention to smell, texture, and rise rather than following a fixed timeline.
This mindset shift is often the real key to understanding how to make gluten free sourdough starter well. Trusting your senses over a strict calendar leads to more consistent, resilient starters over time.
Read more Temu Steaks: What You Need to Know Before You Buy
Conclusion
Mastering how to make gluten free sourdough starter takes roughly one to two weeks of consistent care, but the resulting culture rewards you with better flavor, improved digestibility, and complete control over your ingredients. Choosing a reliable flour, feeding on a steady schedule, and learning to read your starter’s visual and aromatic cues will carry you through the entire process with confidence.
Once your starter reaches full maturity, it becomes a long-term kitchen companion capable of producing loaf after loaf of naturally leavened, gluten free bread. With a bit of patience during the early days, you’ll have a thriving, dependable starter ready whenever inspiration to bake strikes.
Frequently Asked Questions
How long does it take to make a gluten free sourdough starter?
Most gluten free starters become active and ready for baking within seven to fourteen days, depending on flour choice and kitchen temperature.
What is the best flour for gluten free sourdough starter?
Brown rice flour, sorghum, and buckwheat are among the most reliable choices when learning how to make gluten free sourdough starter, thanks to their consistent fermentation activity.
Why isn’t my gluten free sourdough starter rising?
Common causes include chlorinated water, a cold kitchen, or infrequent feeding, all of which can slow the fermentation needed to activate the culture.
Can I use tap water to make gluten free sourdough starter?
Filtered or dechlorinated water is strongly recommended, since chlorine in tap water can inhibit the wild yeast and bacteria essential to fermentation.
How do I store a gluten free sourdough starter once it’s active?
An active starter can be kept at room temperature with daily feedings or refrigerated and fed weekly for more convenient, less frequent maintenance.
Does gluten free sourdough starter taste different from regular sourdough?
Yes, gluten free versions often have a slightly different tang and denser texture, though the fermentation process still produces the same signature sourdough flavor complexity.